Workshops

Showing posts with label Elements of Art. Show all posts

Sunday, March 15, 2020

5th & 6th Grade - 3D Cubes in Tints!


3D Cubes in Tints
My students LOVE this lesson. Even though they are all making the same thing, they all end up different. I gave them the freedom to choose colors.  Here is the template I created and how we used it to draw and label the cubes.


Each table is set up with a color group. Red to orange, yellow to golden yellow, yellow green to deep green, blue greens to blue, cobalt blue to violet, magentas to red. Plus, each try has a white to mix tints. Then black and white and browns are offered at a counter space. I have students use styrofoam mixing trays at each table per color group, they mix lights to darks on the trays. 


5th Grade - One Point Perspective


Here are TWO ways to complete this One Point Perspective lesson. I have seen this lesson in Instagram a couple different ways. I am not the originator of this lesson, but LOVE both methods of finishing! 

I prefer creating the 3D shapes and coloring with oil pastel on white or oak tagboard. It makes it much easier to cut and glue onto a background. 

This lesson is not just a 3D drawing lesson, but a color and value blending lesson. I asked students to practice each at least once. 

When we chose to do the black paper and splatters, I had students rotate around the room from table to table to use different colors. 

Always an impressive finish! Either way!


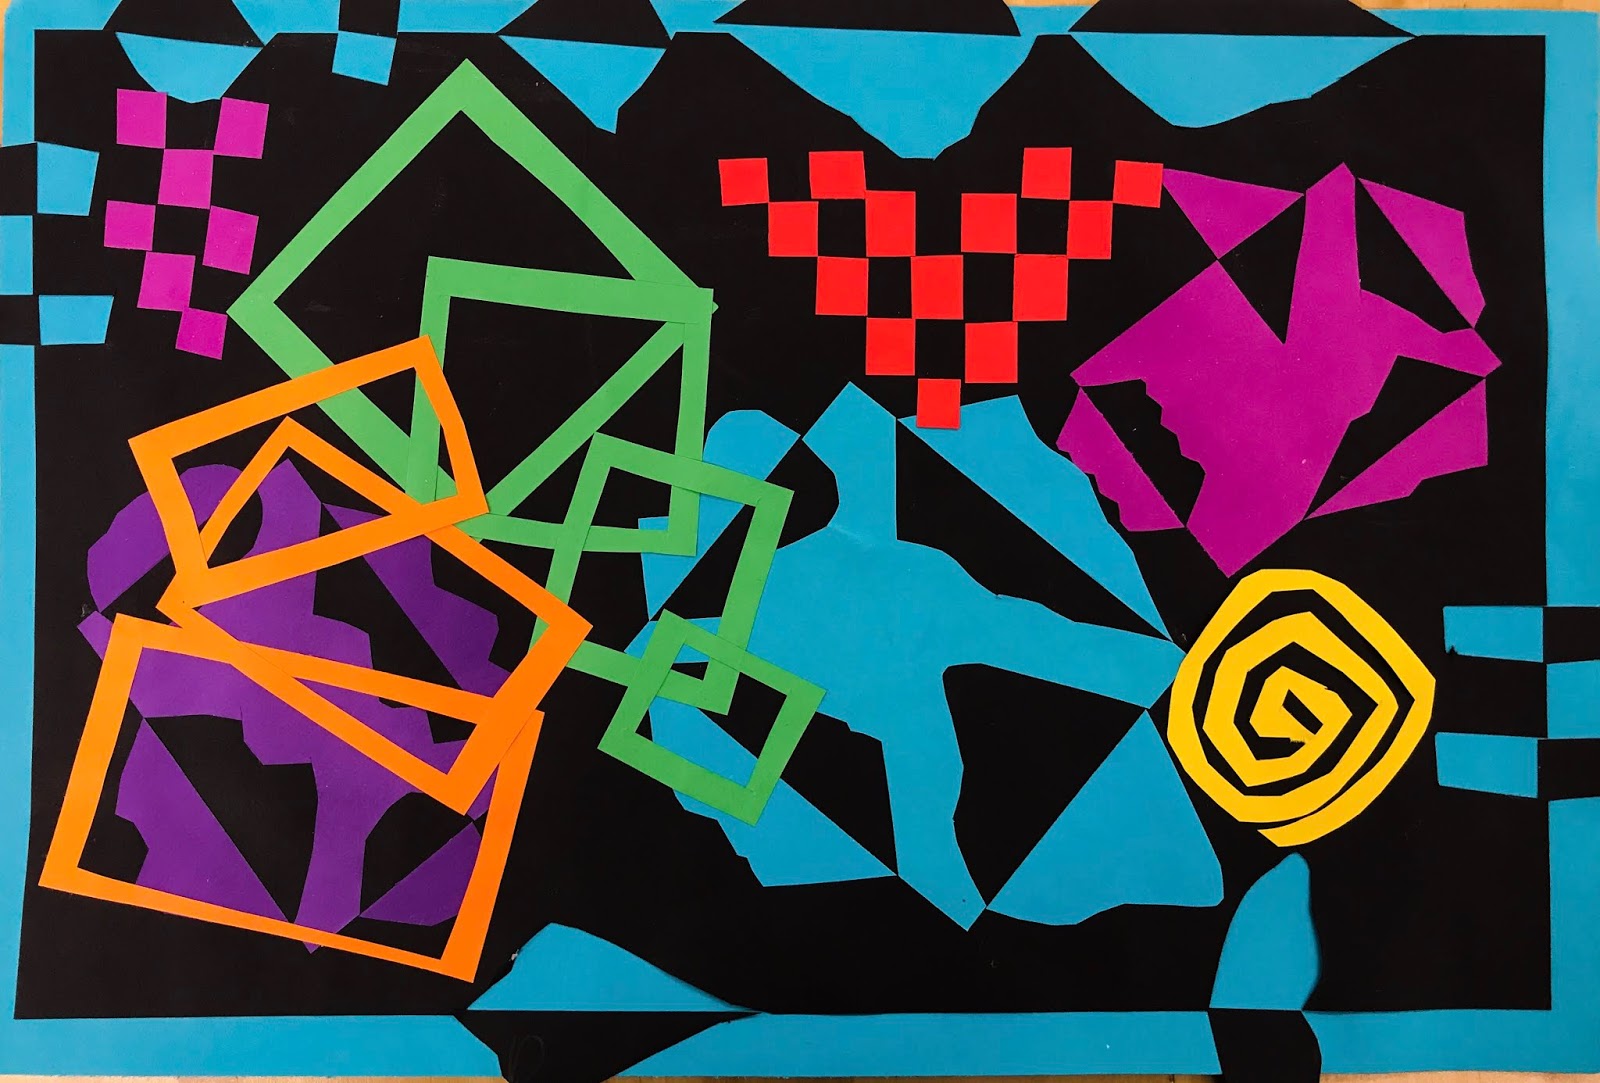
5th Grade - Positive & Negative Shape Collages


A simple flip shape lesson! A great way to learn positive and negative shape & space. Students love this, it can be a simple one day lesson, or take it a couple steps higher. For this lesson, we started working on a black 10x16 - I took 2 inches off each side of the 12x18. Then let students fill the paper with 3+ 4x4 squares, cutting shapes on each side to flip out. Once they were done, we cut SMALL shapes along the black edge to flip out onto a colored background. For a final step, we brainstormed more ideas for creating negative shapes. They could add anything extra! Three extras were encouraged. 😀


6th Grade Positive & Negative Shapes!


This is a lesson many teachers have taught for a few decades. My mother taught this lesson to me when I was young, it was fun to make a basic illusion with positive and negative cut shapes! This version in black and white can be eye catching, simple. And then adding a pop of color is fun too!

We start with the smallest 4x4 black square, cut a shape on each side, then glue the "scrap" to a 8x8 white paper. Plug in the puzzle pieces... Put a little glue on the back, flip out, lining up the edges perfectly with the scrap. 

Repeat... cut 2 shapes on each side of the 8x8 white. Glue the 8x8 onto a black 12x12. You see where I am going???

Finally, last step! Cut 3 shapes from each side of the black 12x12.  Glue to the 16x16 white final sheet! Finish gluing the flip shapes... DONE! 

Add a pop of color by creating some interesting positive and negative shapes... Matisse style or make something up! Have fun!